The 15 points that every embroiderer should know
hace 4 años
Index of this article
Top 15 stitches to embroider by hand
Want to learn these 15 embroidery stitches? The art of learning to hand embroider is fun and relaxing, and it's an easy way to create beautiful projects with fabric and thread. Starting new embroidery projects might seem intimidating at first, but remember that most embroidery patterns only require a few basic stitches.
If you learn how to embroider these 15 essential embroidery stitches, you'll be ready to tackle almost any embroidery project.
Backstitch
Backstitch is such an easy stitch to learn that you will master it very quickly. This basic stitch is likely to be one of the stitches you will use the most in your projects. The backstitch is widely used in any type of outline, but it is also a stitch that pairs very well with other stitches, which makes it a key stitch to learn.
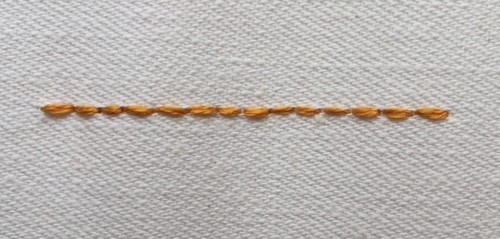
It's also easy to embellish with knitting or wrapping, quickly transforming into a very decorative stitch.
running stitch
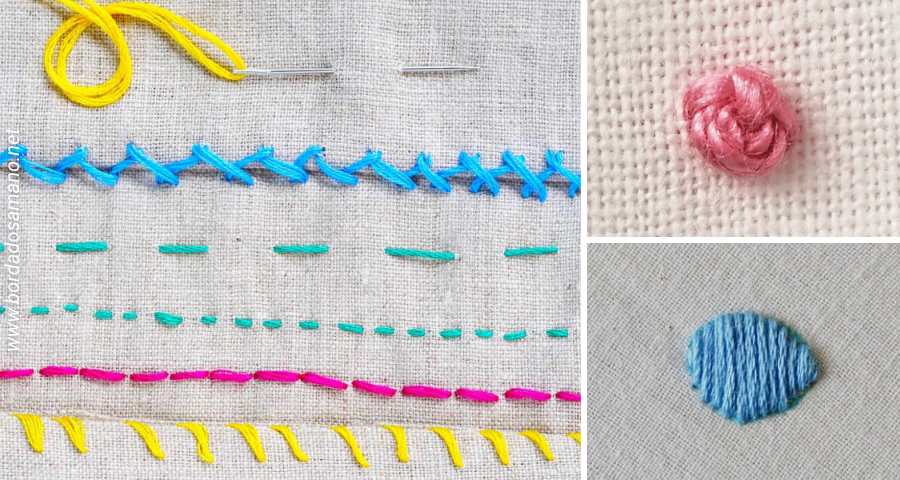
The running stitch is a simple embroidery stitch that's good for creating broken outlines and adding detail to your embroidery project. It's also the foundation of Japanese sashiko embroidery.
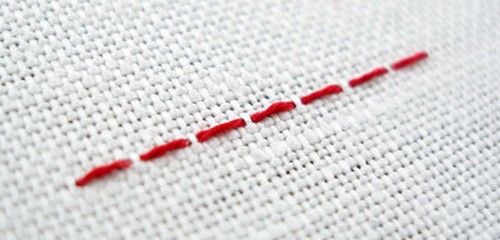
Although it is a very basic point, it is adaptable and can become complex. For example, you can change the look by adjusting the length and spacing, or by adding a second row of stitches between the first. It's also another stitch that works well for knitting and wrapping.
straight stitch
The straight stitch hardly requires any explanation, because it's as simple as pulling the needle up through the fabric and then back down. But the many uses of this building block embroidery stitch are worth exploring.
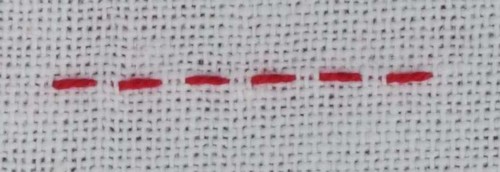
Use the straight stitch to form stars, scattered fills, textures, and more. Practice the length and placement so you can work this versatile stitch into your work.
french knot
For many stitchers, French knots remain a challenge. While it can take time to learn, it's well worth the effort. Not only is it a common stitch found in embroidery patterns, but it's also a great stitch to use when creating textured fills or other design elements.
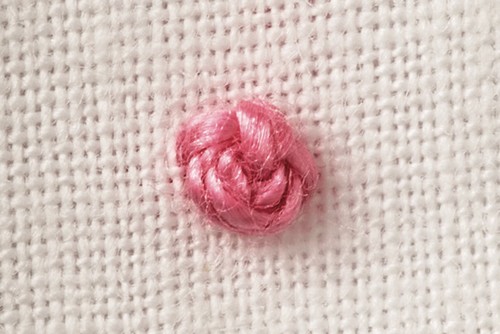
This stitch involves wrapping the needle to form a knot on the surface of the fabric. The trick to tying French knots is to keep the working thread taut, but not too tight. Give it some practice.
stem stitch
The stem stitch is another basic stitch that's perfect for creating smooth outlines. It works well for both straight lines and curves, and despite its name, it's not just for embroidering stems. Use the stem stitch on almost any line in your stitching.
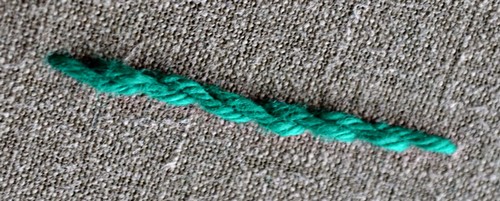
Like so many stitches, you can adjust the width of the stem stitch or use it for fill stitches. Just try to keep your stitch length consistent to create a beautiful result.
Chain stitch
If you want a bolder embroidery line, then the chain stitch is the stitch for you. The chain stitch forms a row of joined stitches that really stand out.
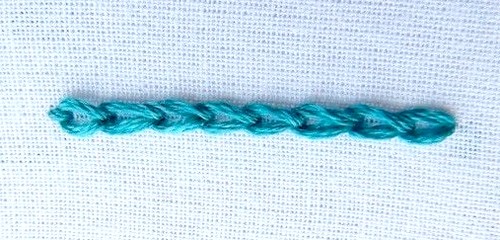
There are several ways to work the chain stitch and it's a good idea to at least learn how to work it back and forth. Once you get the hang of them, try some of the other variations.
satin stitch
One of the most classic embroidery stitches for filling an area is the basic satin stitch, also known as the satin stitch . There are some variations, but essentially, the satin stitch is a series of straight stitches worked side by side in a very simple way.
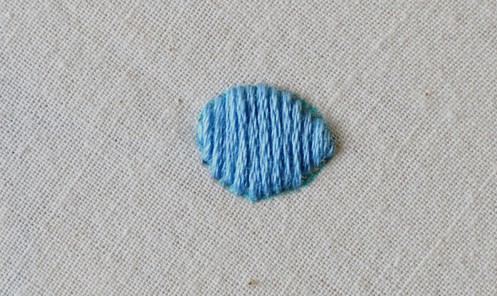
The secret to making those straight stitches into something special is practicing the length and closeness of the stitches. The result is a full shape that is simply stunning.
feather point
The feather stitch is a linked stitch that creates open lines that almost appear to move. It's perfect for making frames and borders, and also works well layered or embellished with other stitches.
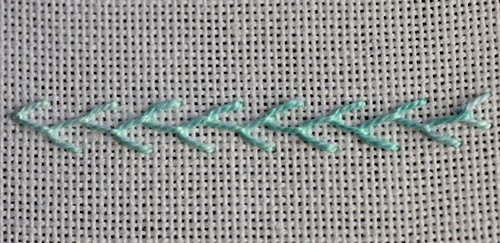
The aspect of the feather stitch makes it ideal for stitching seaweed, foliage, feathers or scales, and the variations make it possible to embroider a multitude of natural designs.
split stitch
Try the split stitch for another option for outlining. The process for working the split stitch is similar to the backstitch, but in reverse. In fact, the back of your work will end up looking like the front of the backstitch.
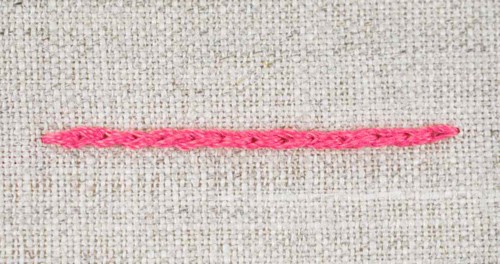
Made by piercing or splitting the previous stitch, use this stitch to work strong, lightly textured lines of embroidery.
separate chain stitch
A separate chain stitch , sometimes called a single chain, is a common stitch for making flowers, leaves, and more. This stitch works like a standard chain stitch, but with only one "link."
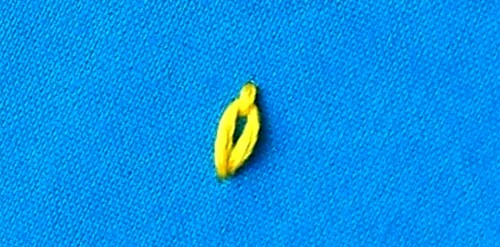
The separate chain stitch is what makes lazy daisies typically formed with five out of six of these stitches.
fly stitch
The fly stitch is worked similar to a separate chain stitch, but instead of making a petal or teardrop shape, the fly stitch forms a V shape or sometimes a smooth curve.
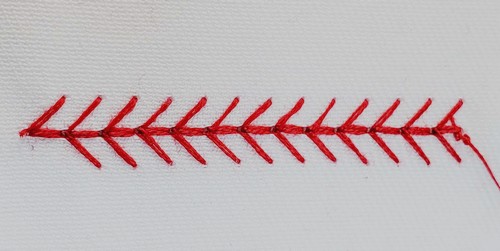
Try the fly stitch in a row, scattered as a fill, stitched in a radius, or many other variations.
Woven Wheel Stitch
The woven wheel stitch looks like a more advanced embroidery stitch, but it's actually quite simple. It starts with a star of straight stitches, and then you weave the working thread to form a flower.
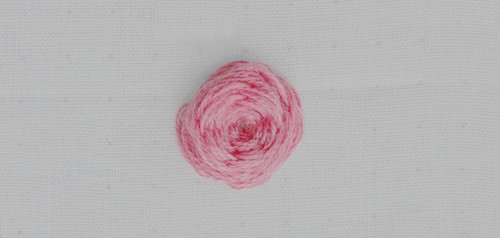
Soon you will have a stitch that will fill your hoop with amazing flowers.
couching point
Though not always on beginner's stitch lists, couching is an embroidery method everyone should know about. This stitch uses two lengths of thread at a time. One stays on the surface of the fabric, while the other is held in place with basting stitches.
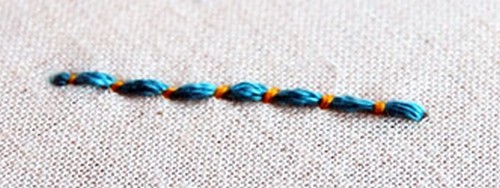
Use this stitch to make outlines, create textures, or fill in an area. It even works with ribbons, threads, and other materials.
satin stitch
Starting the blanket stitch is usually the trickiest part, but once you get the hang of it, it's very easy. Use this stitch to create decorative borders and lines or as a border for appliqués within your embroidery.
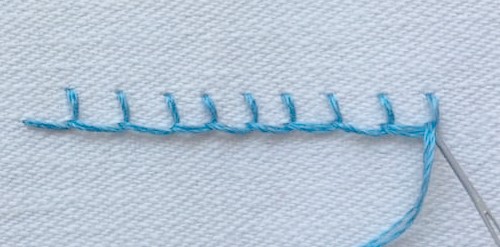
Add variation to the stitch by adjusting the spacing and height of the stitches.
bullion knot
Definitely the most advanced stitch on this list, the bullion knots. These knots are a stitch you must learn. Think of them as a really long French knot that can make beautiful roses.
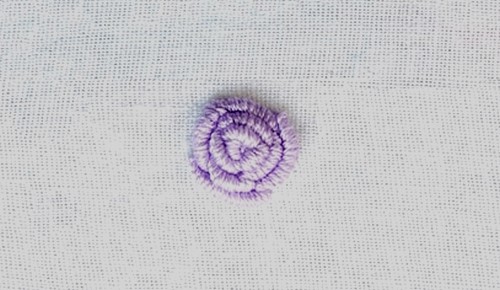
Practice them, making them small and then start making them bigger. You will be happy to make them.
Related articles